For developers
Integrations actions
New Integration
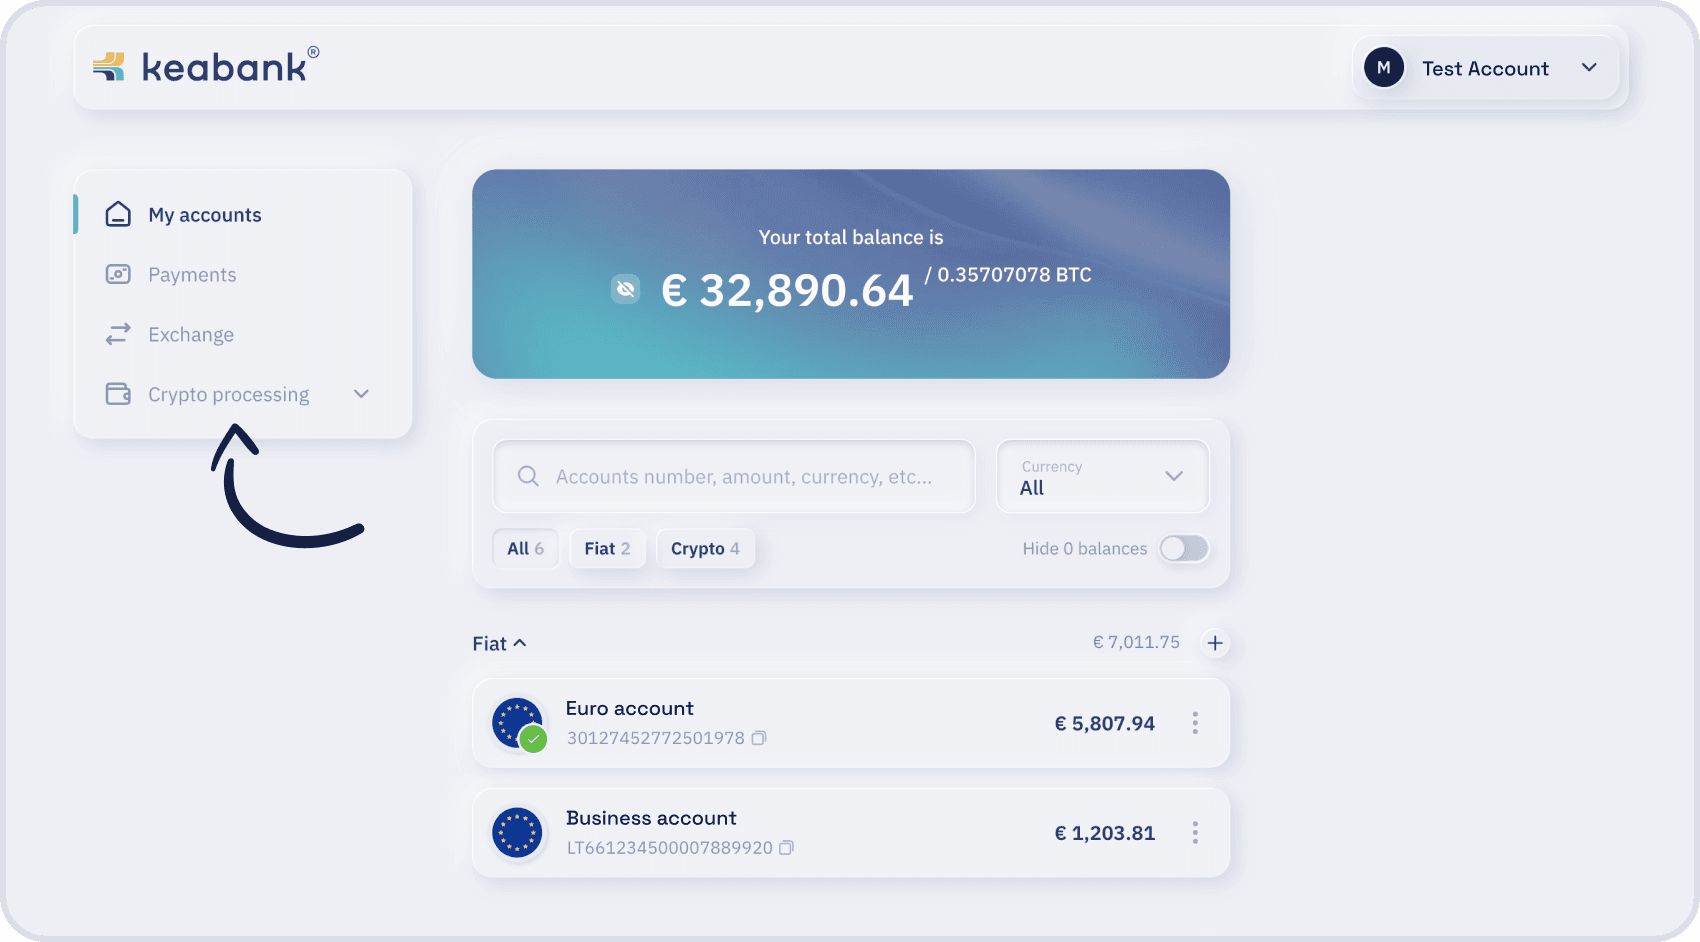
- Log in to your dashboard:
- In the top-left corner click the “Crypto processing” section:
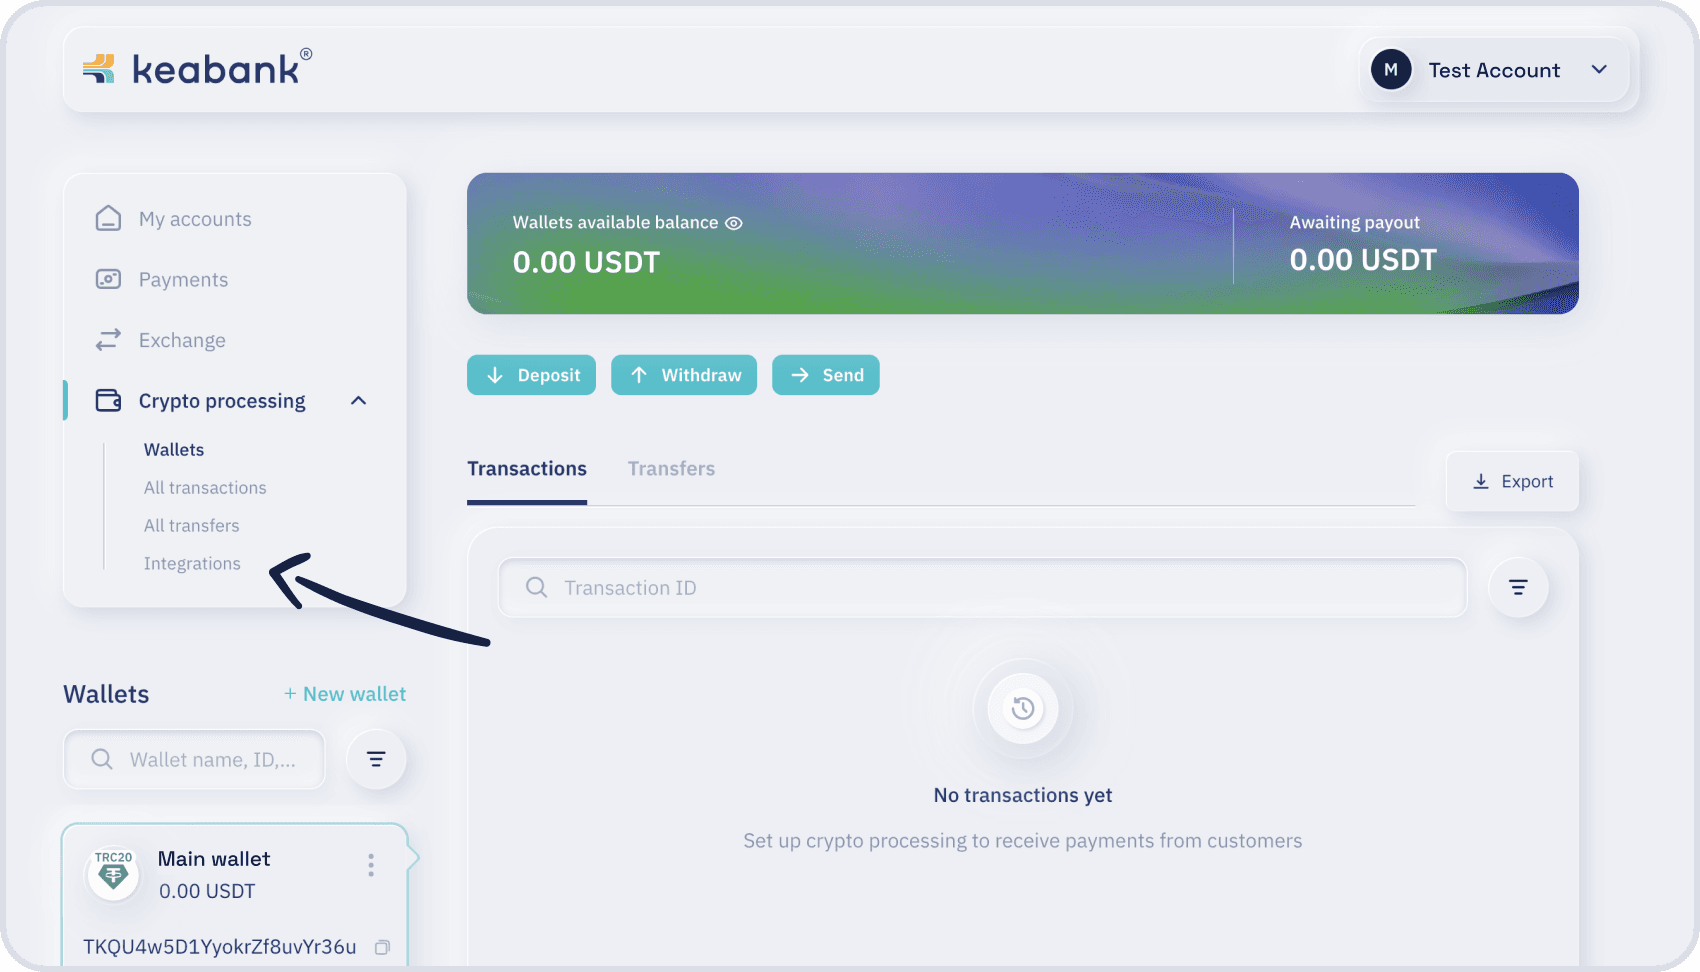
- Click the “Integrations”:
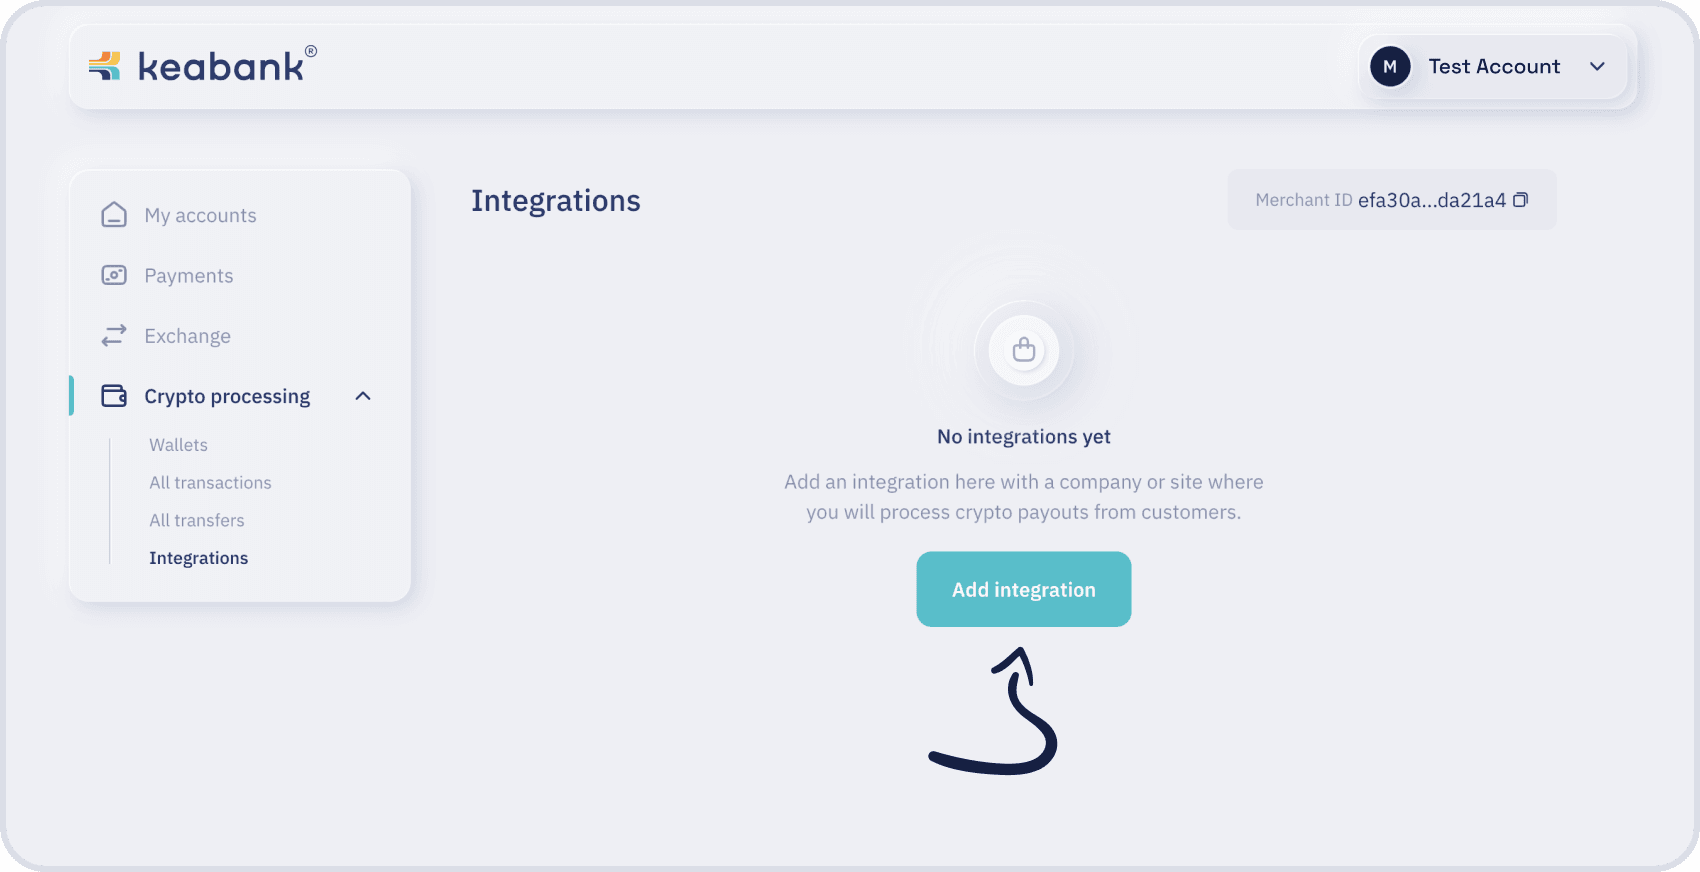
- On the Integrations page click the “Add integration” button:
- On the “Integration” step, configure the main information about integration:
- Integration name - A name you choose for your integration. It can be anything that helps you recognize it later.
- Link to the site - The web address (domain) of your website where the payments will be made from (e.g., http://example.com ).
- Callback URL - It’s a technical field in which the link should be indicated where the Keabank will send updates about your payment status, whether a payment was successful or failed (e.g. https://example.com/payment/response/keabank/notify)
- Deposit wallet - The wallet where you will receive money from your customers when they make payments.
After completing filling the form click the button “Continue”.
On the right side, you can see a live preview showing how the iframe will look after the integration is configured. This allows you to visualize how the payment information will appear to the customer.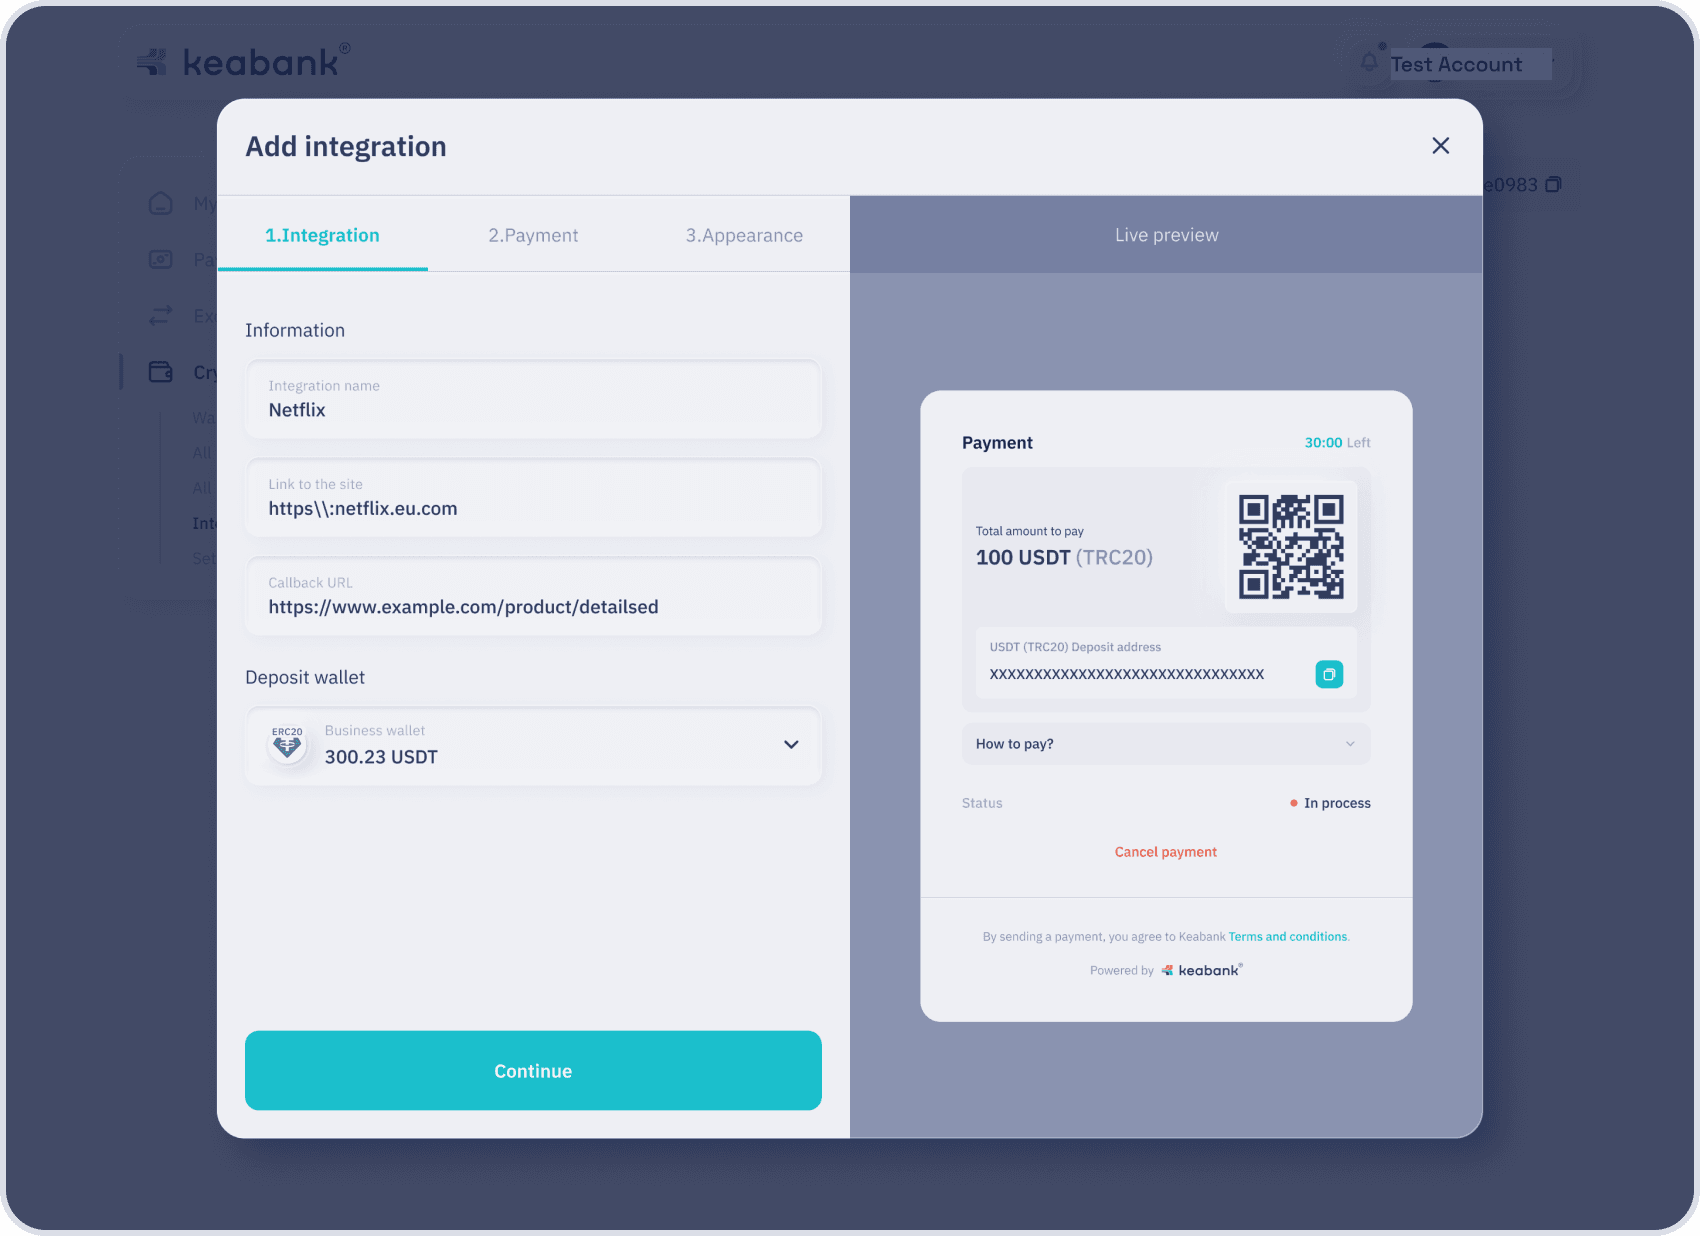
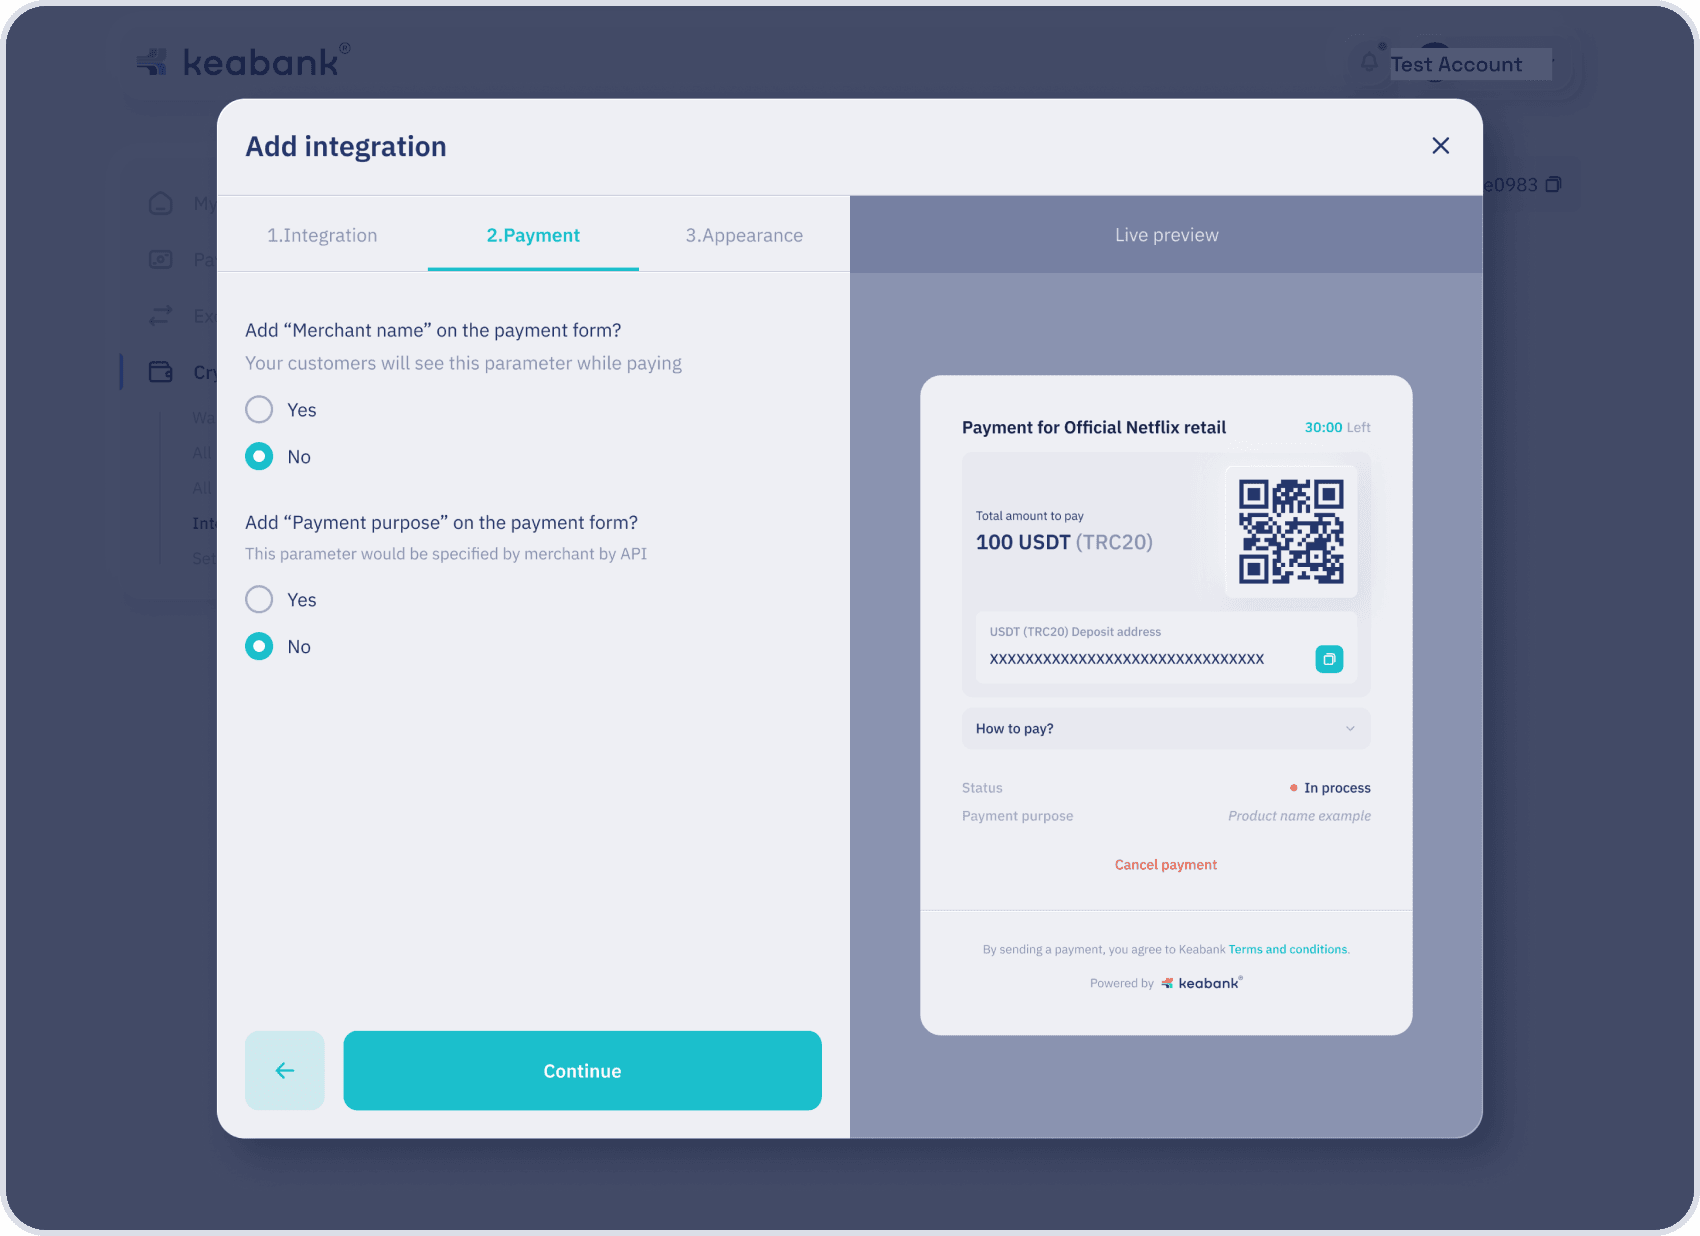
- On the “Payment” step, configure the additional information to be displayed on the payment form:
- Add “Merchant name” on the payment form?
Choose whether to display your merchant name to the customer during the payment process.
If Yes is selected, enter the desired name in the Merchant name field. - Add “Payment purpose” on the payment form?
Choose whether to display the purpose of the payment. This value is provided via the API when creating the payment.
After completing filling the form click the button“Continue”.
- Add “Merchant name” on the payment form?
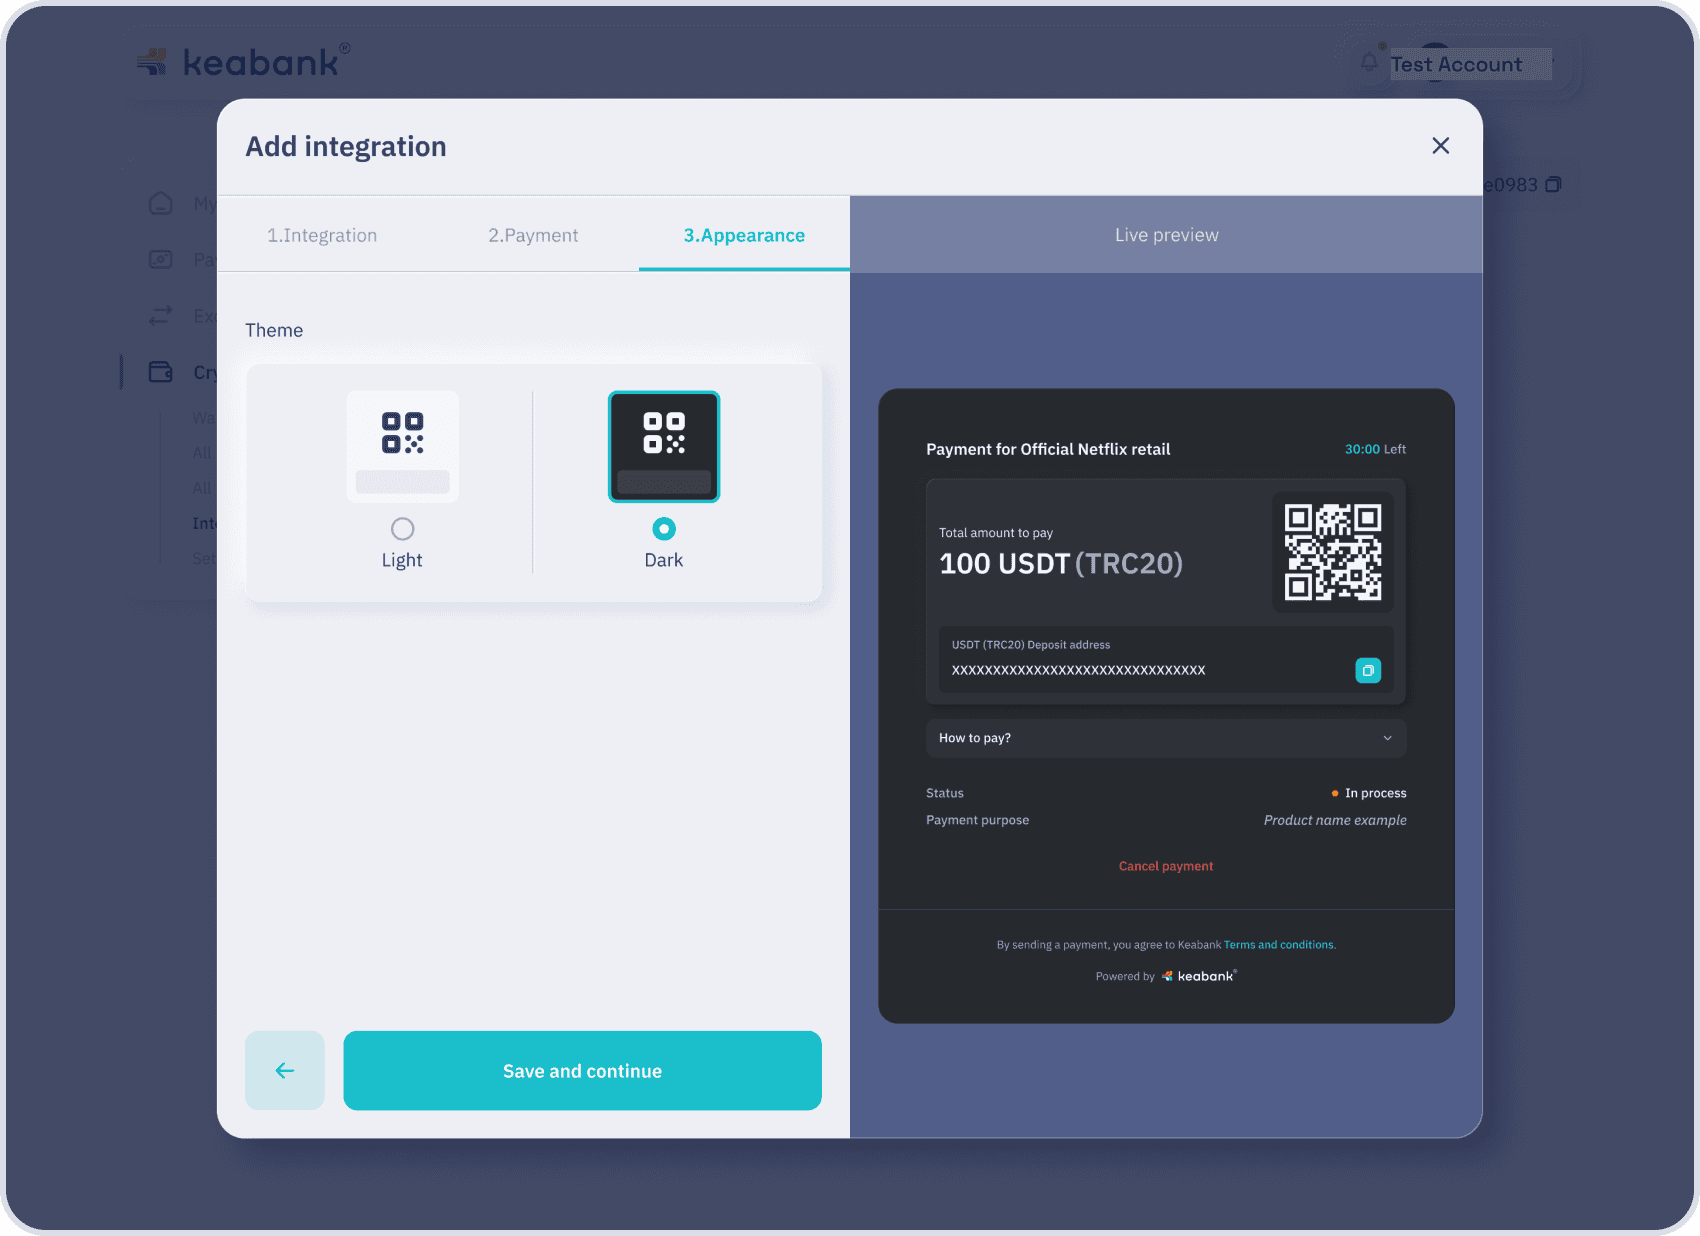
- On the “Appearance” step, choose the visual style of the payment form:
Select between Light or Dark mode depending on your website’s design or personal preference. This determines the appearance of the embedded iframe for your customers.
On the right side, the live preview instantly reflects the selected theme, so you can see how the final payment form will look in real time before saving your settings.
Once you’ve chosen your desired appearance, click “Save and Continue” to complete the integration setup.
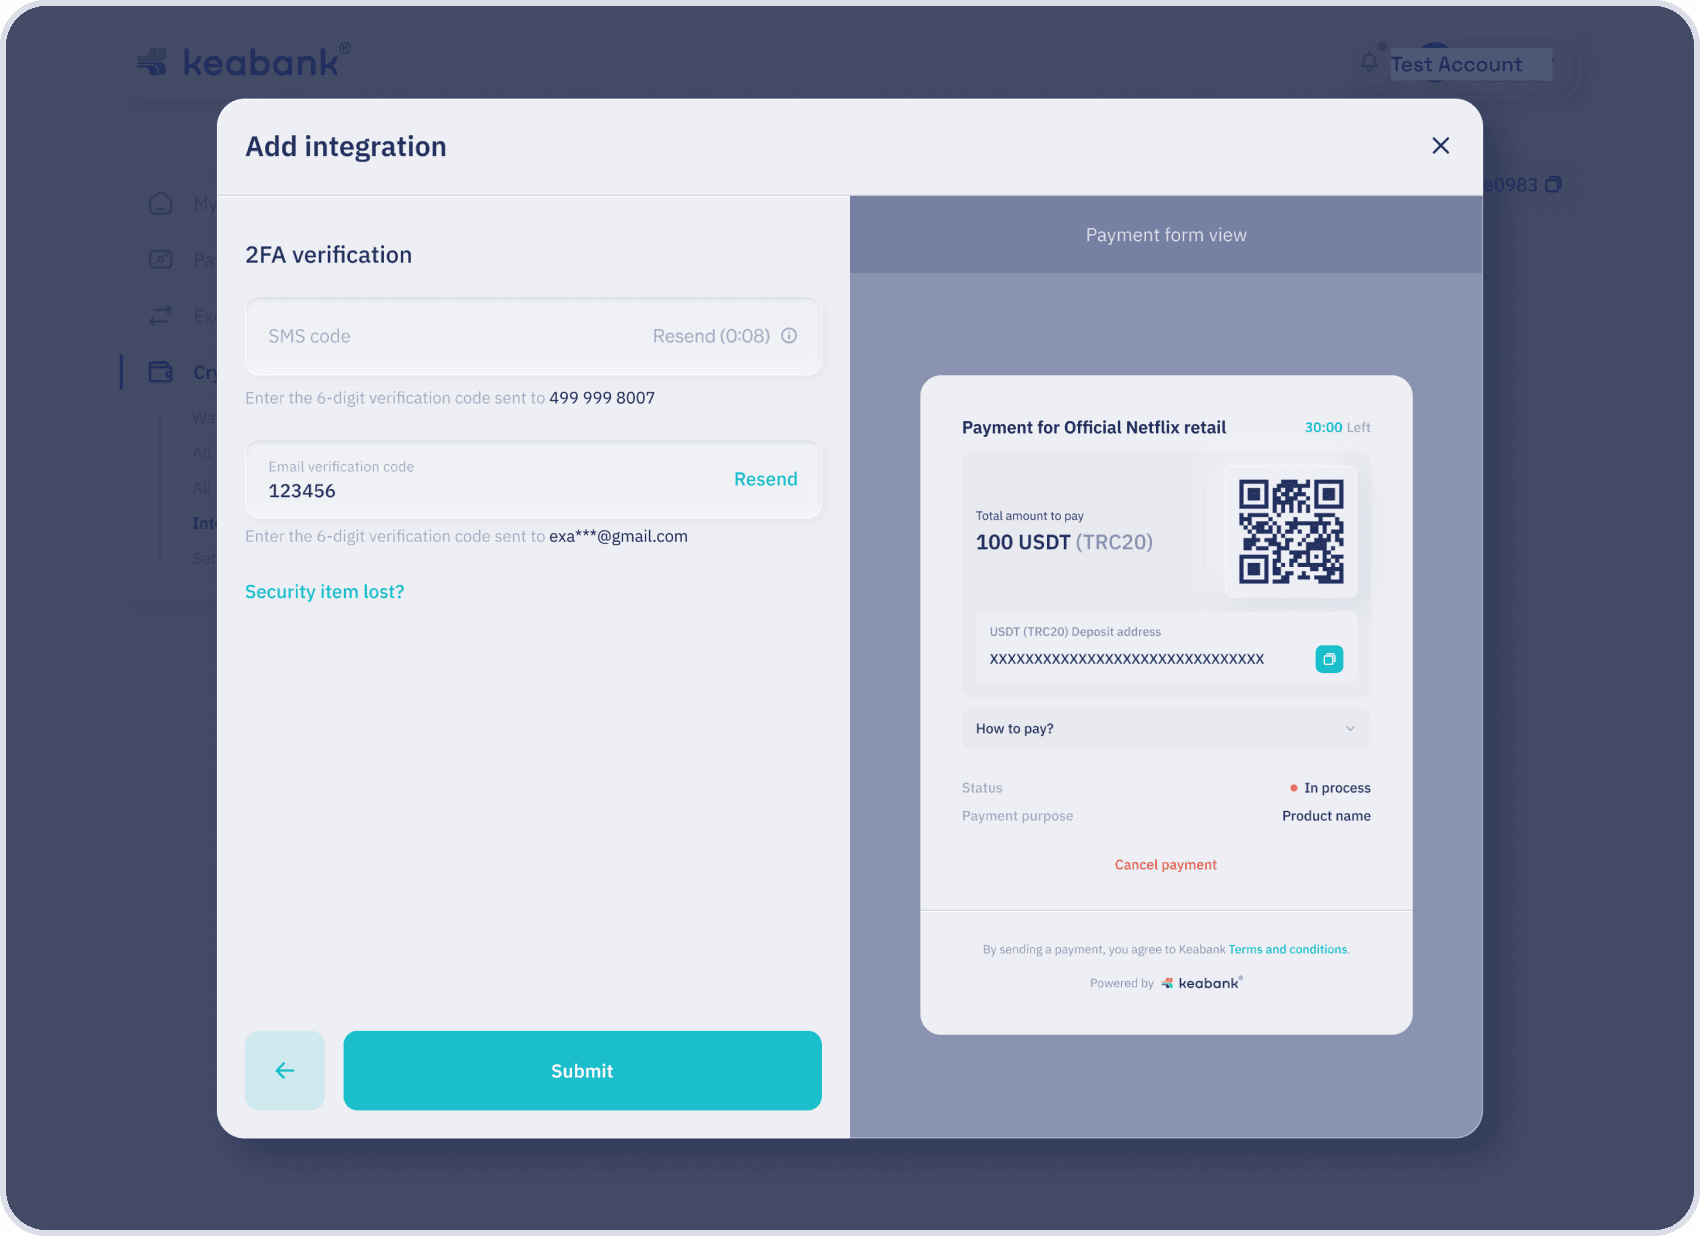
- Enter the OTP codes into the text fields and click the Submit button. (2FA methods must be set)
- The final result, you will see your configured integration.